
When I use a stamp or a die, I really like to be able to use it in different ways – so here are further ways to use the die featured in today’s Shakers and Inlay Technique Class as promised, plus a sneak peek at products featured in my next class scheduled for May 2020.
Supplies:

- Memory Box Side Butterfly Frame
- Memory Box Jotted Birthday Script
- Lawn Fawn Happy Happy Happy Stamp & Die set
- Circle dies – 3.25″ and 3.5″. I used the Hero Arts Nesting Circle Dies set.
- Acetate & Vellum
- Nuvo Sequins and Confetti
Hello


I cut two circles, just slightly larger than the Memory Box frame. You could choose larger circles if preferred.
I scored a .25″ flap at the top of one of the circles and used strong double sided adhesive tape to secure it to the back of the second circle. This creates the card base. See photo 2 for close up.
I cut the Memory Box frame three times from white cardstock and stacked them together. I did the same for the ‘hello’.
For the background, I looked through my box of previously created backgrounds, and chose this green alcohol inked example. I cut a circle to fit the back of the frame. A die cut inlay would work well on this card too. A white heat embossed sentiment on a black strip plus a few little gold gems in the flower centres completes this cute little card.
Butterfly Shaker


I used the intricate butterfly die to cut three butterfly shaped openings on a landscape piece of cardstock. I used a stitched rectangle to give it a tidy edge, and cut a piece of rainbow striped patterned paper just a little larger to give a slim frame around the outer edge.
I decided where the birthday die cut was going to sit and stamped the extra sentiments on either side. This is the time to heat emboss if you want a finished look to the stamping, before the acetate is added.
The shaker part was created by adding acetate to the back of the butterfly panel and strips of foam adhesive in circles around each butterfly opening. You could simply have strips of foam creating one large rectangle, but I wanted certain colours of sequin/confetti in my openings like a rainbow. Further foam strips are added around the edge of the white panel. I am generous with adding foam, as I want my card to feel solid and stable.
The rainbow panel is added to the back, like a lid. To make this part a little easier, I lined up the white panel with the confetti sitting in their circles up with the grid on my glass mat, so I knew which grid lines to match the rainbow piece to get an even frame.
The card front is added to a card base, and a few silver gems added for sparkle. I did add black glitter cardstock bodies to the butterflies to give them definition.
Rainbow Vellum Shaker


I had a rainbow distress inked panel which I wanted to use, so I cut it down using a scalloped rectangle die from a Tonic background die set (incidentally, this die set will feature in my next technique class coming up in May). The rectangle panel is adhered directly to the card base.
I cut the circle frame out a number of times and stacked them instead of using foam. I also used vellum instead of acetate, for a different look.
I coloured the butterfly with a rainbow of colours to match, and the top intricate layer is cut from gold mirror cardstock.
I stacked the ‘happy’ to match the height of the frame and added the sentiments and gems.
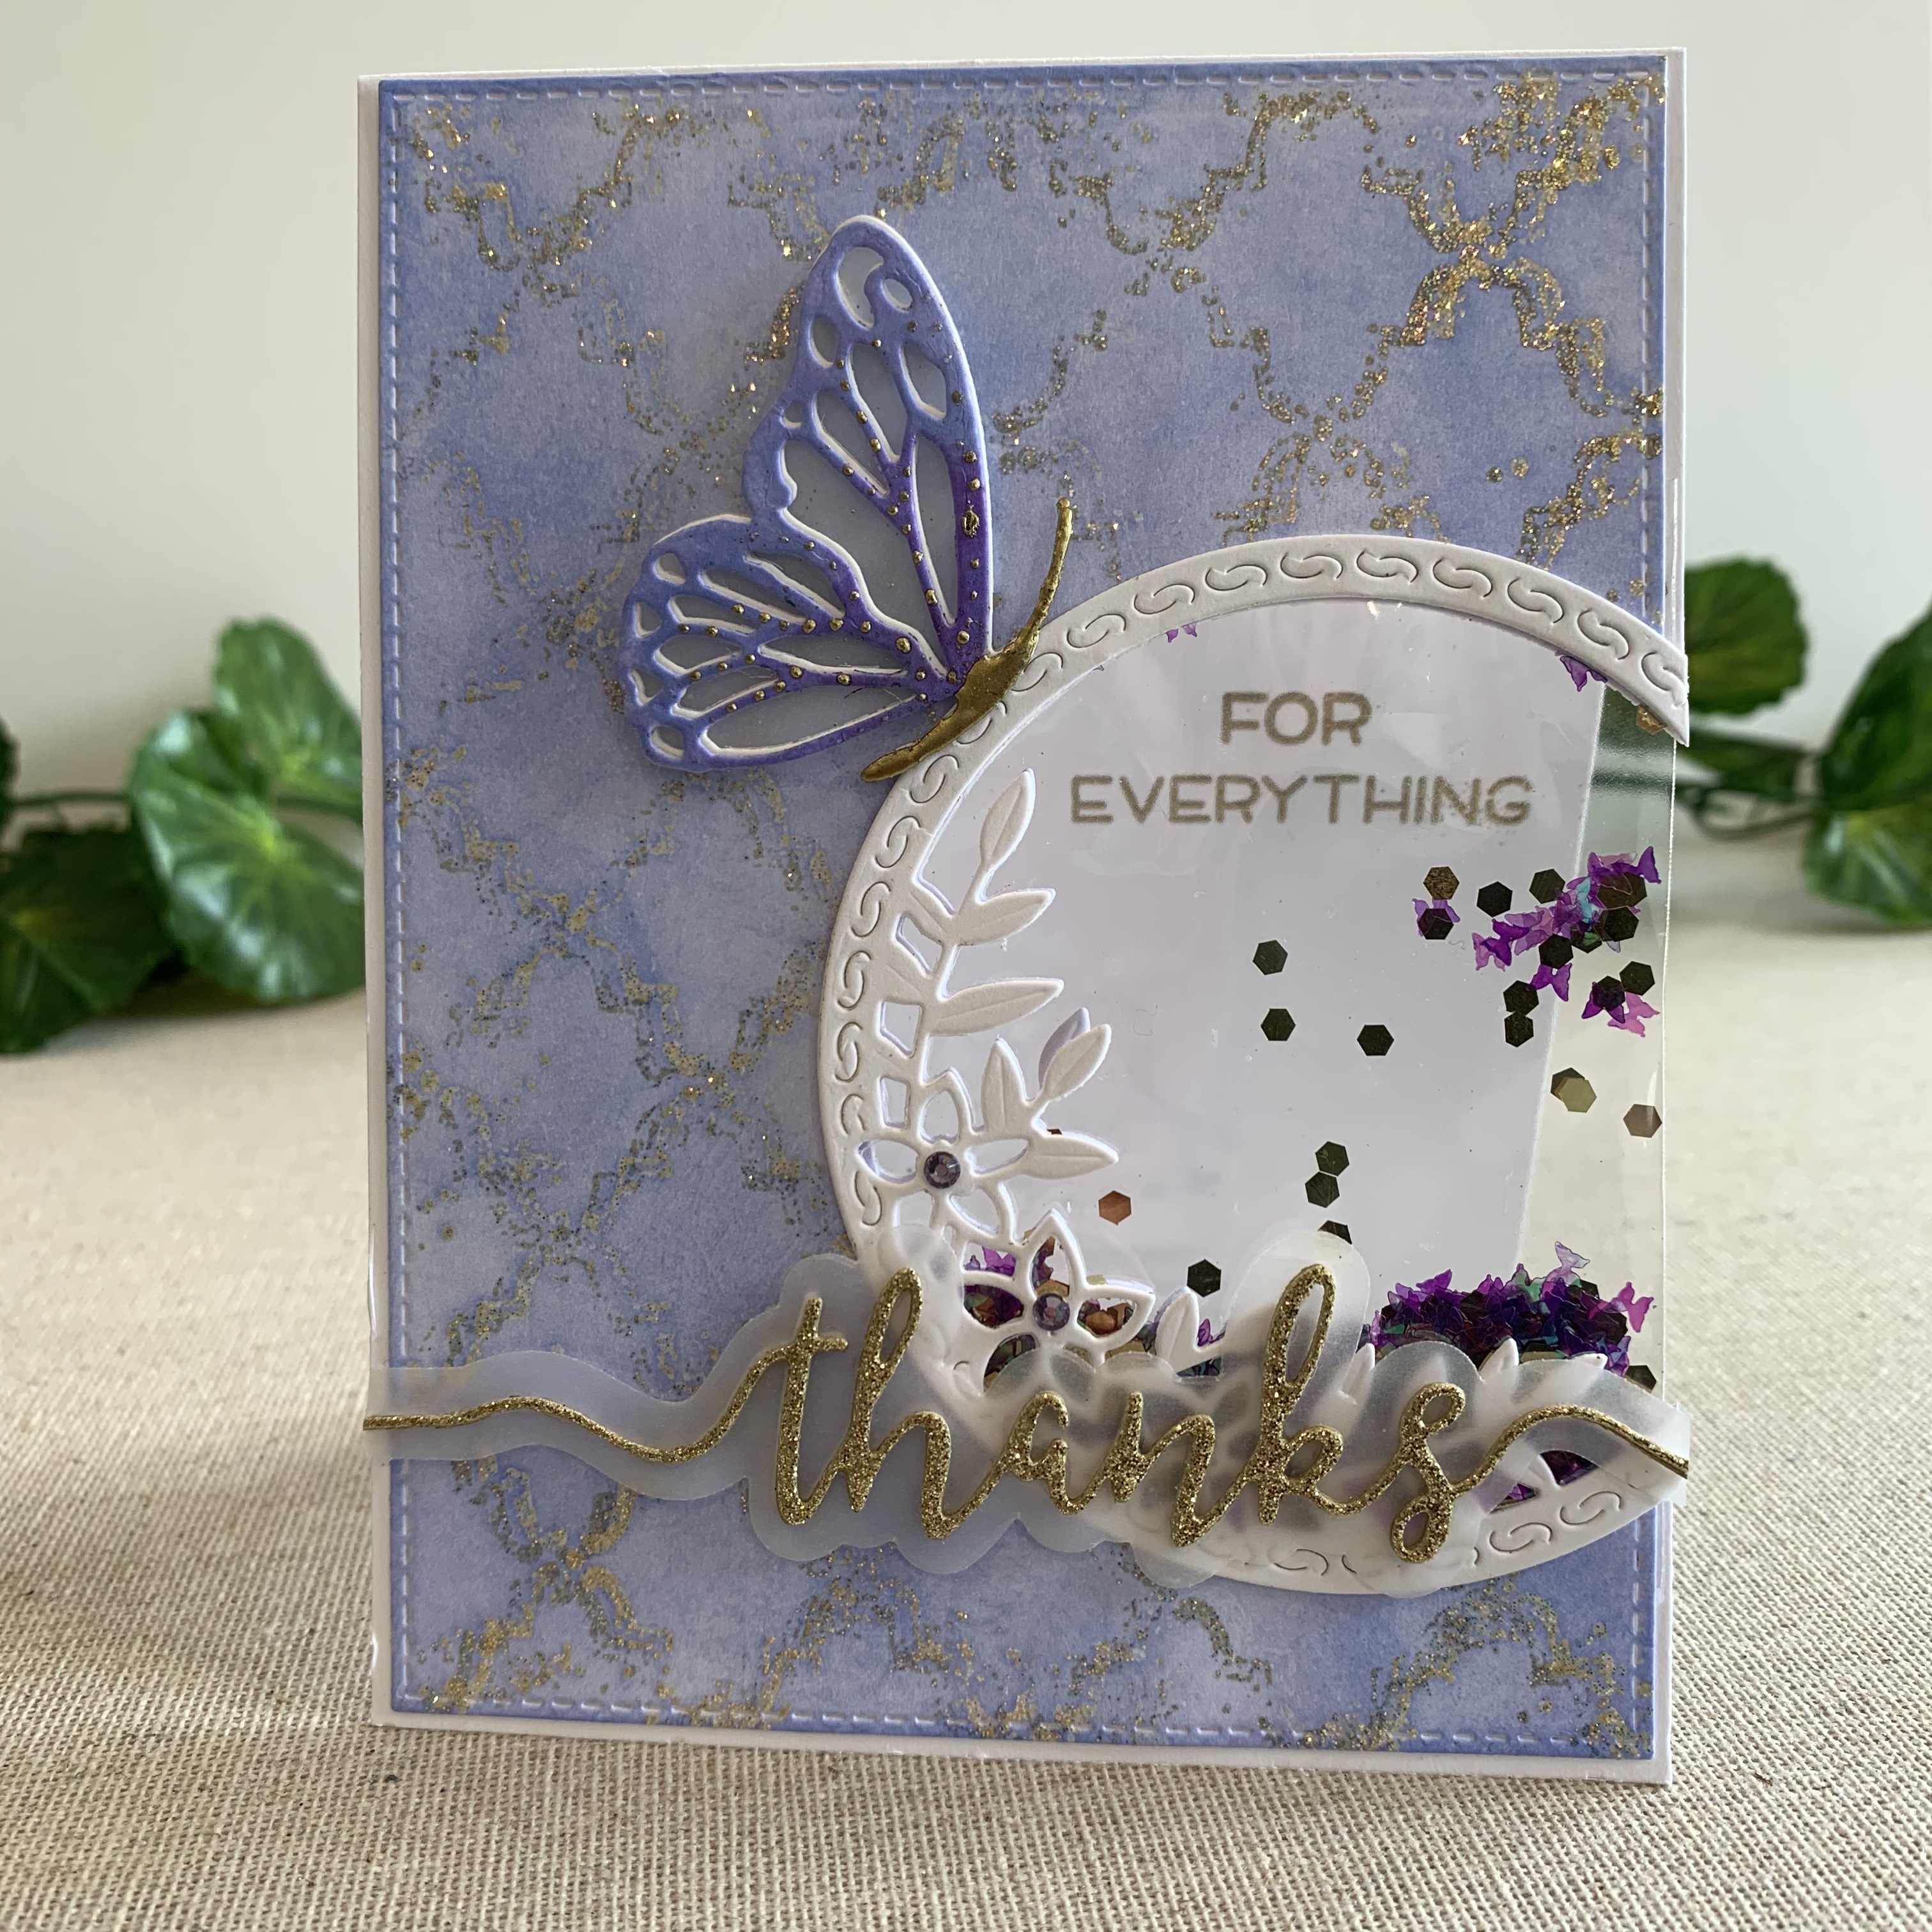
Off the Card Shaker


A fun variation of the shaker is to have it off the side of the card. This is easily achieved by using packaging from a stamp or die set, using the corner of the bag where it is already perfectly folded and sealed.
I temporarily taped the card front (inked with Shaded Lilac and gold sparkle heat embossed) to the base and cut the Memory Box frame to create the opening.
I filled the packaging bag with confetti and used thin double sided tape to close the remaining two sides, ensuring the bag is a little larger than the opening. I lined up the edge of the bag with the edge of the card base, hiding the adhesive edges in between the two layers of card base and card front.
I cut two further frames and glued one to the front, and one to the back matching them up. The edges are trimmed off to match the edge of the card base.
You can also see I turned the frame a little to suit, so the flowers and leaves were not sitting at the bottom, rather climbing upwards.
I added a ‘Thanks’ by Tonic Studios across the bottom, and sentiment on the inside of the card. The butterfly is built with a vellum bottom layer, white intricate layer and inked layer adhered slightly offset. I heat embossed the butterfly body in gold.
Thank you for getting this far in my blog post! I had a great time teaching this Technique Workshop, and hope you enjoy the extra examples featured here, and have some new ideas to try out for yourself.
For more in-depth information about the best value supplies for your craft table, from cardstock to the handiest tools, check out my Best of the Basics series.
I’d appreciate it if you hit Follow below, and/or follow my Facebook page so you’ll be kept up to date with upcoming classes. I regularly share other cards, along with tips, hints and ideas.