Posted on Leave a comment

Just BEE Cause

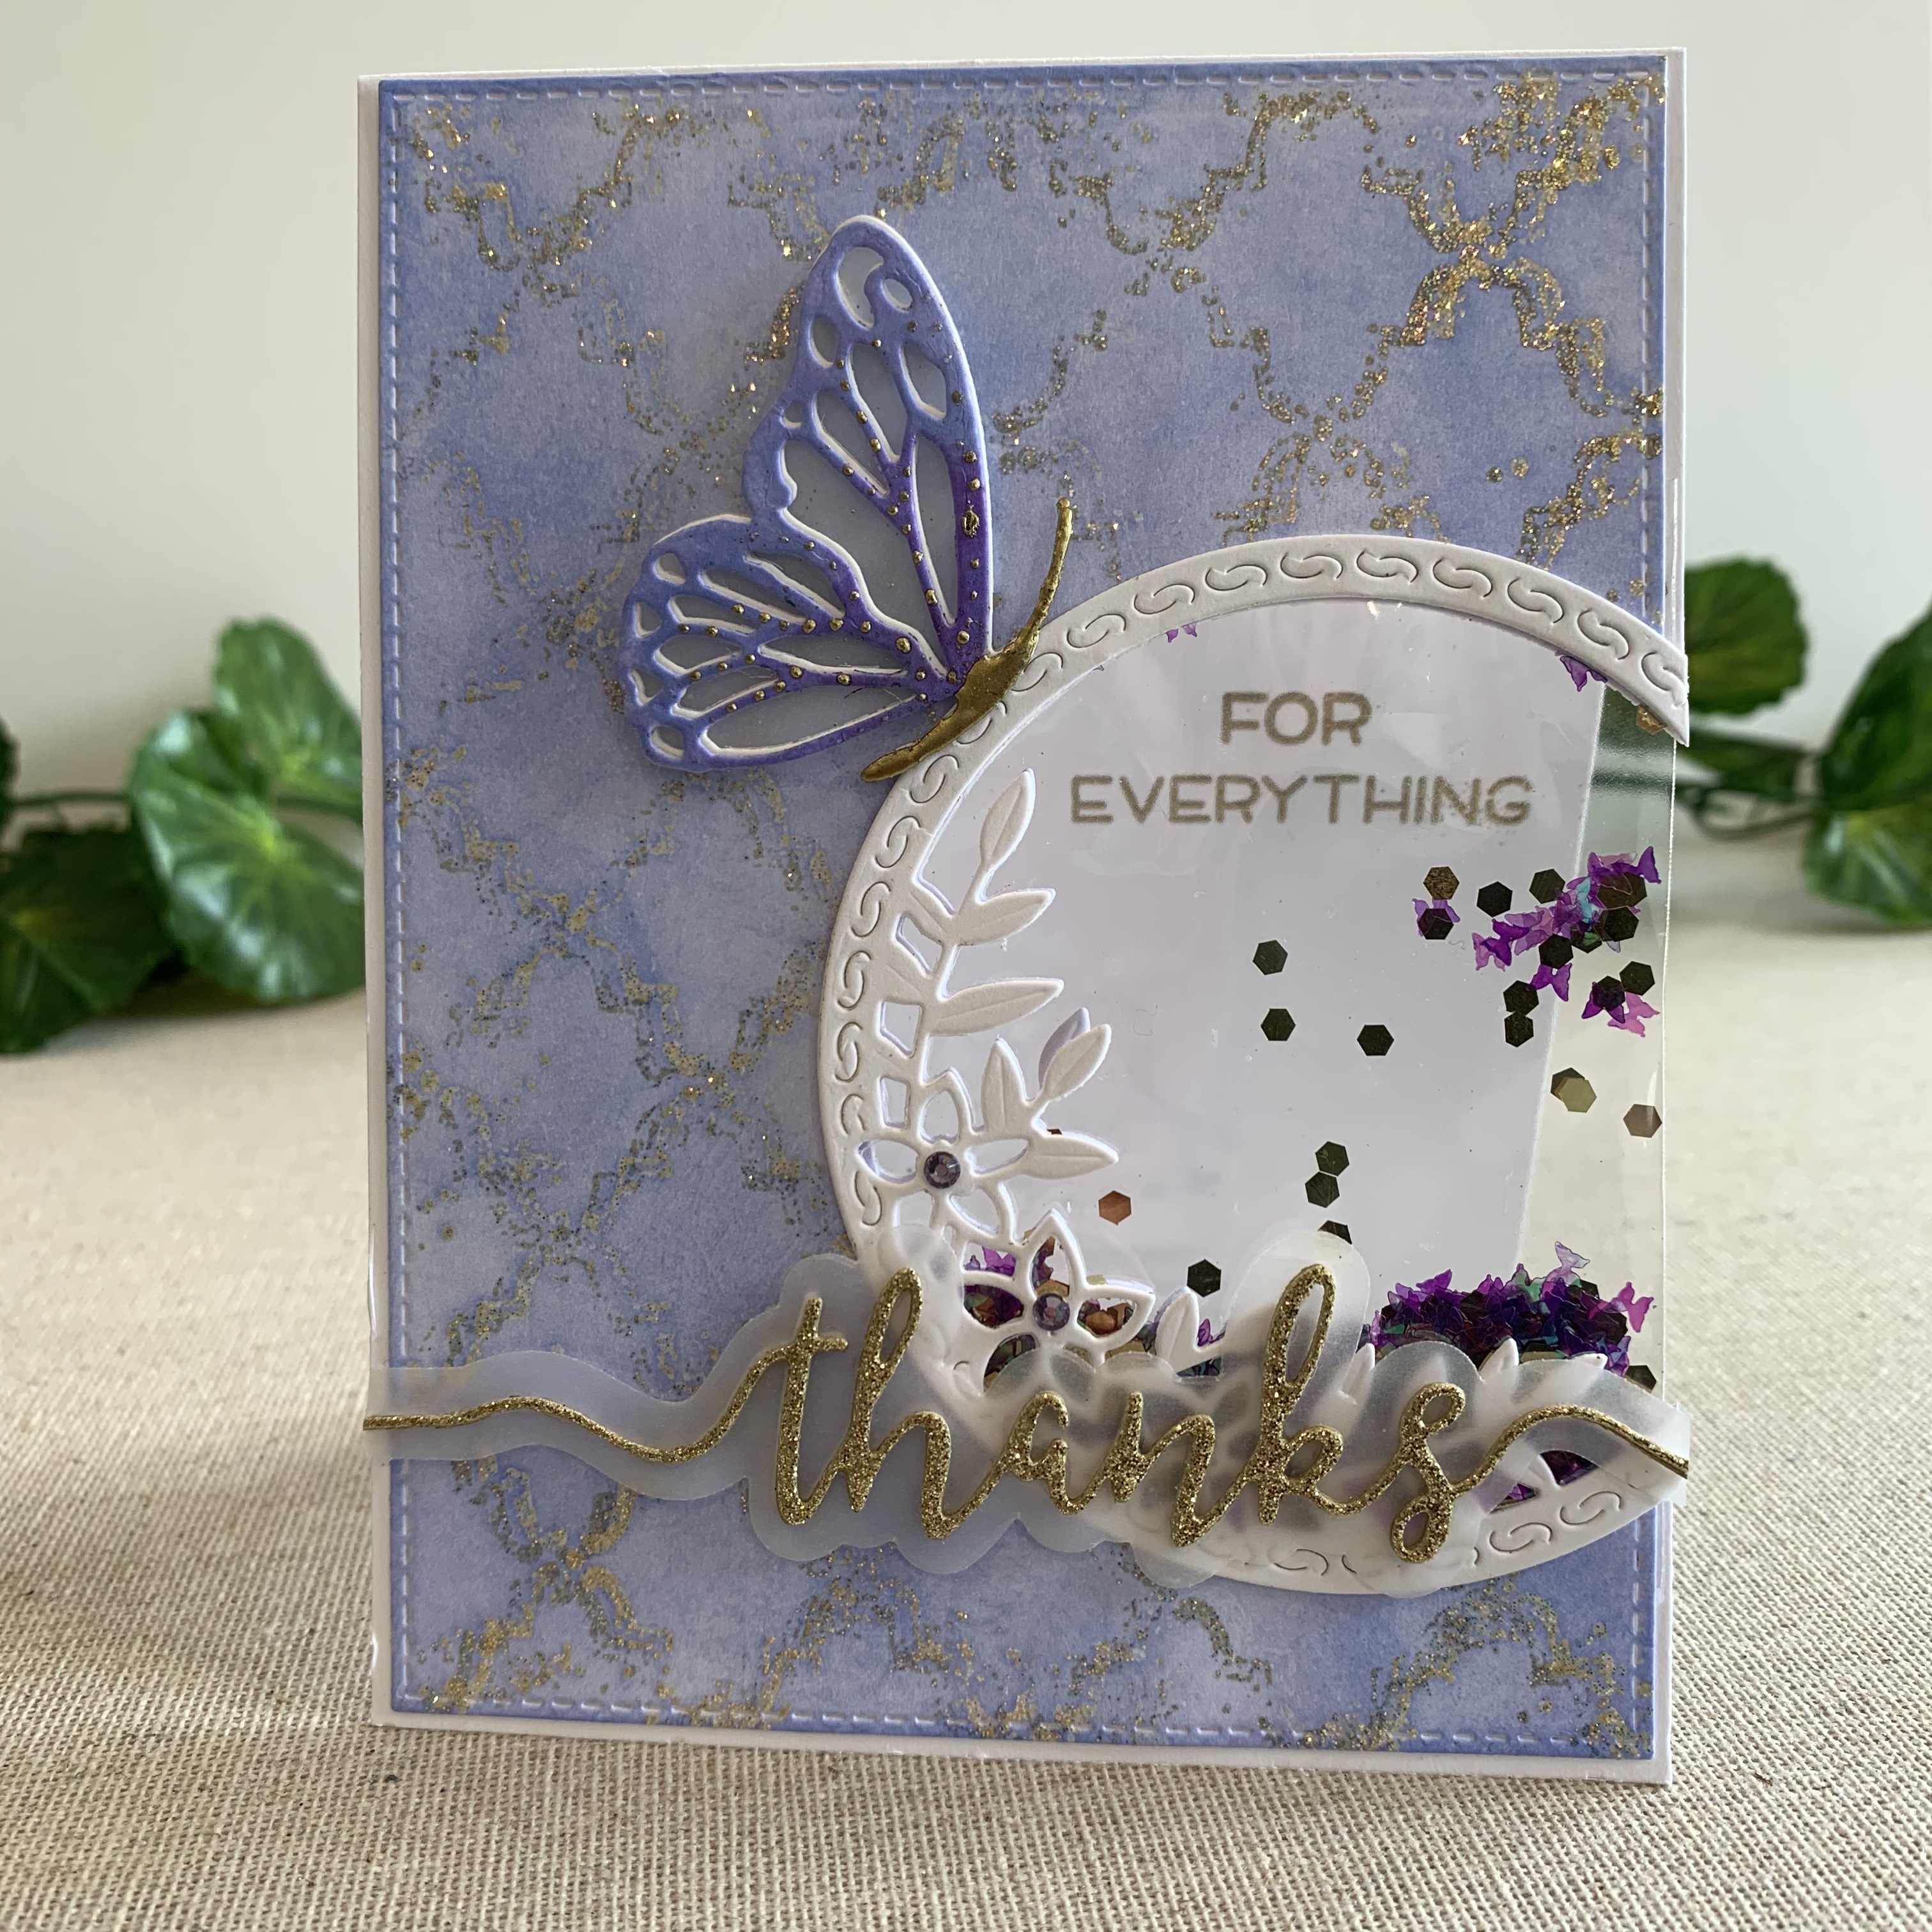
A nice bright cheery card to send to someone, Just Because. It’s always nice to receive a surprise in the mailbox, especially when it isn’t expected!

Today’s card has a small colour palette – I have used just two colour families, Cool Greys and Yellows on top of a ‘white on white’ background.

If you are considering jumping into using Copic Markers, these two colour families would be a great start. Of course, you can use any colouring medium you are comfortable with to achieve a similar result.

I started off with the Honey Bee Stamps Hexagon cover plates – I used just the top two today (the very bottom layer is on a future shopping list).

I cut them from 80lb white cardstock and glued the two layers together. The card front is then adhered to my base – I prefer Neenah 110lb for my card bases, but you can use whichever you prefer.

I stamped and die cut my images, plus I die cut the letters for BEE four times each and stacked them together. This alphabet die set is a brilliant size, and beautiful font, I find I reach for it a lot.

The Busy Bees set includes dies for flower stems, I simply cut these without stamping the matching image and coloured them in green (YG09).

You can use any combinations of greys and yellows you have in your stash. For this project, I used C9, C7, C5 and Black on the buzzy bees, along with Y35, Y18, Y5, Y13, Y11. The same yellow combination is used on the letters and flower centres. Plus C3, C1 and C0 to add shadow to the flower petals and wings. You could cut the top layer of the letters from yellow or patterned cardstock too, which would be a fun result.


When colouring with Copic Markers, it is important to use the right cardstock – Neenah or Copic X-Press It are my top choices and they give smooth results, making it easier to blend your colouring as the cardstock can handle the amount of ink being laid down.

I start with my darkest colour and colour from the outside in with little flicks. The next colour is added by using the same small flicks over the dark colour and extending it out and same again with the lighter shade. Do the same from the other side of the section you’re colouring. If you leave gaps between your flicks, you can achieve a more textured look (think hair or fur), but in this case I wanted a smooth blend.

Copics are a bit of an investment, and it can be daunting when you’re just starting out with your collection. When adding a new colour family to your collection, try to add in groups of 3 – a dark, medium and light shade of colour. I will link here to some online colouring resources, (including free and paid) classes and charts for your reference.

There are a number of Copic suppliers in New Zealand – Gordon Harris, Ribbon Rose, Scrapbook Central are the main retailers that I personally purchase from – all three have online shopping facilities. Check your local craft supplier or art store too.

I also have further information about Copic Markers, plus other ways of adding colour to your projects here.


A close up of the stacked letters and their shiny, sparkly glory!

I added some sparkle with the Nuvo Aqua Shimmer Gloss pen and a layer of Nuvo Crystal Glaze for shine.

Wink of Stella pens and Ranger Glossy Accents or Nuvo Morning Dew Drops would give similar results if that’s what you have. I have linked both options below.

I stamped and white heat embossed the Just and Cause to add above and below to complete the sentiment.

The letters and sentiment additions are glued directly to the card front. The bees and flowers are attached to the card front with foam squares within the hexagon gaps. I glued the flower stems to sit underneath my flower heads, cut down to size – there was plenty left to spare from the two stems I had prepared.

Final touches include glaze pens and fineliner for the eyes, smile and tops of the antennae.

PRO TIP: Wait for your sparkle pen to dry before adding black glaze – I ended up with a bit of a feathered look on one of the bees and one of the antenna. Whoops!

I also added sparkle and glaze to the flower centres.

This completes my bright and cheerful card today. Thank you for stopping by! Below are links to the products I have used – some are affiliate links (not all) which simply means I may get a small commission at no extra cost to you when shopping. Thank you for your support – it means I can keep creating and sharing with you.

https://linkdeli.com/widget.js?id=f5e8378456858c916708

If you have any questions regarding the putting together of this card, please feel free to message me – I’m only too happy to help!

Posted on Leave a comment

Happy Mother’s Day!

Happy Mother’s Day! Here in New Zealand, we are still in Level 3 Lockdown – meaning we can’t travel out of our region, retail shops are not open although online retailers are shipping. So today’s plan is to have cake with both mine and my husband’s mother via a Zoom meeting. Sounds fun right? Three cakes were ordered, but only one has made it to its destination so far – the couriers in New Zealand say their current workload is like Christmas on steroids!!

Anyway, back to the card my mother received in the post (sent in plenty of time for arrival prior to today!).

Close up of the rainbow sunflower – can you see the shine?
Adding colour to the die cut sunflower, this doesn’t need to be tidily done as it will be hidden by the layers.

I was inspired by Laura Bassen @laurafadora and her card made with the sunflower stem from Simon Says Stamp. I loved the rainbow idea and bought this die solely to create my own.

I cut the sunflower five times, and left the petals intact in one of them so I could colour my rainbow for the bottom layer. I used copic markers, but you could use any medium you prefer.

Three die cuts, with the petals punched out were glued on top. I used my Art Glitter glue for this as I really like the super fine tip. If I had thought ahead, I could have applied stick it adhesive to my cardstock first to make the job of sticking the delicate die cuts together easier!

I also coloured the petals with my Nuvo Glimmer pen, and then added Nuvo Crystal Glaze for extra shine.

The final die cut sunflower was added to the top for a nice clean and crisp finish.

The background is the Simon Says Stamp Festive Berries stamp, heat embossed with Hero Arts Satin Pearl embossing powder.

The sunflower panel is raised with craft foam. I used the MFT stitched rectangles on both the card front and sunflower panel to get a nice stitched border.

I added the sunflower to the front and found a suitable Happy Mother’s Day sentiment in Mama Elephant’s Mini Messages. I heat embossed in white on Hero Arts Pitch Black cardstock and carefully cut the ends to create the little banner.

If you have any questions regarding the putting together of this card, please feel free to message me – I’m only too happy to help!

Posted on 1 Comment

Exciting News!

I have been invited to be a new Affiliate Partner with Scrapbook.com! This means I can include links here on my website, blog, and some of my social media posts, which take you directly to their website. If you like what you see, and make a purchase, I can earn a small commission at no extra cost to you.

You can browse, shop and have goodies delivered directly to your door with super fast and brilliantly cheap international shipping. My friends and I have been very happy customers with Scrapbook.com for a few years now, they offer over 50,000 different products, including many of our favourite stamp, die, ink and paper brands.

Scrapbook.com also have their own range of exclusive stamp sets, dies, inks and tools.

I will be spending some time over the next few weeks setting up my own gallery at Scrapbook.com (this is something you can do too and share your cool creations!). I will also be learning how to share amazing coupon deals, projects and products so you can have fun creating along with me.

You can start here with 10% off your purchase, plus a free gift.

Be assured, I will still continue to share how you can shop for your crafty goodies in New Zealand – after all, supporting our local businesses is still very important to me. I have a list of New Zealand retailers here.

For information about high quality, best value supplies for your craft table, from cardstock to the handiest tools, check out my Best of the Basics series – this series is dedicated to where you can find the products I list in New Zealand, and that won’t change.

Thank you for stopping by and sharing in my exciting news!

Posted on 1 Comment

Shakers and Inlays – Part II

When I use a stamp or a die, I really like to be able to use it in different ways – so here are further ways to use the die featured in today’s Shakers and Inlay Technique Class as promised, plus a sneak peek at products featured in my next class scheduled for May 2020.

Supplies:

  • Memory Box Side Butterfly Frame
  • Memory Box Jotted Birthday Script
  • Lawn Fawn Happy Happy Happy Stamp & Die set
  • Circle dies – 3.25″ and 3.5″. I used the Hero Arts Nesting Circle Dies set.
  • Acetate & Vellum
  • Nuvo Sequins and Confetti

Hello

‘hello’ from My Favorite Things
1/4 inch score line at the top of the circle for the back of the card. Adhered to the front with thin double sided tape.

I cut two circles, just slightly larger than the Memory Box frame. You could choose larger circles if preferred.

I scored a .25″ flap at the top of one of the circles and used strong double sided adhesive tape to secure it to the back of the second circle. This creates the card base. See photo 2 for close up.

I cut the Memory Box frame three times from white cardstock and stacked them together. I did the same for the ‘hello’.

For the background, I looked through my box of previously created backgrounds, and chose this green alcohol inked example. I cut a circle to fit the back of the frame. A die cut inlay would work well on this card too. A white heat embossed sentiment on a black strip plus a few little gold gems in the flower centres completes this cute little card.


Butterfly Shaker

You can see the different coloured confetti in each of the butterfly openings.

I used the intricate butterfly die to cut three butterfly shaped openings on a landscape piece of cardstock. I used a stitched rectangle to give it a tidy edge, and cut a piece of rainbow striped patterned paper just a little larger to give a slim frame around the outer edge.

I decided where the birthday die cut was going to sit and stamped the extra sentiments on either side. This is the time to heat emboss if you want a finished look to the stamping, before the acetate is added.

The shaker part was created by adding acetate to the back of the butterfly panel and strips of foam adhesive in circles around each butterfly opening. You could simply have strips of foam creating one large rectangle, but I wanted certain colours of sequin/confetti in my openings like a rainbow. Further foam strips are added around the edge of the white panel. I am generous with adding foam, as I want my card to feel solid and stable.

The rainbow panel is added to the back, like a lid. To make this part a little easier, I lined up the white panel with the confetti sitting in their circles up with the grid on my glass mat, so I knew which grid lines to match the rainbow piece to get an even frame.

The card front is added to a card base, and a few silver gems added for sparkle. I did add black glitter cardstock bodies to the butterflies to give them definition.


Rainbow Vellum Shaker

Distress inks used: Candied Apple, Carved Pumpkin, Squeezed Lemonade, Mowed Lawn, Salty Ocean and Wilted Violet.
A rainbow butterfly – you can use any colouring medium for this.

I had a rainbow distress inked panel which I wanted to use, so I cut it down using a scalloped rectangle die from a Tonic background die set (incidentally, this die set will feature in my next technique class coming up in May). The rectangle panel is adhered directly to the card base.

I cut the circle frame out a number of times and stacked them instead of using foam. I also used vellum instead of acetate, for a different look.

I coloured the butterfly with a rainbow of colours to match, and the top intricate layer is cut from gold mirror cardstock.

I stacked the ‘happy’ to match the height of the frame and added the sentiments and gems.


Off the Card Shaker

This type of shaker is not bulky at all, and perfect for sending in the mail.
The purple layer is slightly offset with the white to give an illusion of extra colour and dimension to the butterfly. The body is dipped in gold embossing powder and heated to melt. Little extra dots of gold are added to the wings by using dots of glue and heat embossing with gold powder.
The inside of the card, back of the see through shaker.

A fun variation of the shaker is to have it off the side of the card. This is easily achieved by using packaging from a stamp or die set, using the corner of the bag where it is already perfectly folded and sealed.

I temporarily taped the card front (inked with Shaded Lilac and gold sparkle heat embossed) to the base and cut the Memory Box frame to create the opening.

I filled the packaging bag with confetti and used thin double sided tape to close the remaining two sides, ensuring the bag is a little larger than the opening. I lined up the edge of the bag with the edge of the card base, hiding the adhesive edges in between the two layers of card base and card front.

I cut two further frames and glued one to the front, and one to the back matching them up. The edges are trimmed off to match the edge of the card base.

You can also see I turned the frame a little to suit, so the flowers and leaves were not sitting at the bottom, rather climbing upwards.

I added a ‘Thanks’ by Tonic Studios across the bottom, and sentiment on the inside of the card. The butterfly is built with a vellum bottom layer, white intricate layer and inked layer adhered slightly offset. I heat embossed the butterfly body in gold.


Thank you for getting this far in my blog post! I had a great time teaching this Technique Workshop, and hope you enjoy the extra examples featured here, and have some new ideas to try out for yourself.

For more in-depth information about the best value supplies for your craft table, from cardstock to the handiest tools, check out my Best of the Basics series.

I’d appreciate it if you hit Follow below, and/or follow my Facebook page so you’ll be kept up to date with upcoming classes. I regularly share other cards, along with tips, hints and ideas.