Posted on 3 Comments

Cute Hedgehog Gift Tag

You can find more of my Christmas Gift Tags from over the years by checking out #inkyandstampytags on Instagram, or my dedicated Pinterest board

Last year I made many many gift tags – and as a result, I have a box full of little projects that never came to fruition. This is one of those. I had stamped and cut the hedgehogs using Copic X-Press It cardstock, and coloured the hats, but that’s as far as I got :/

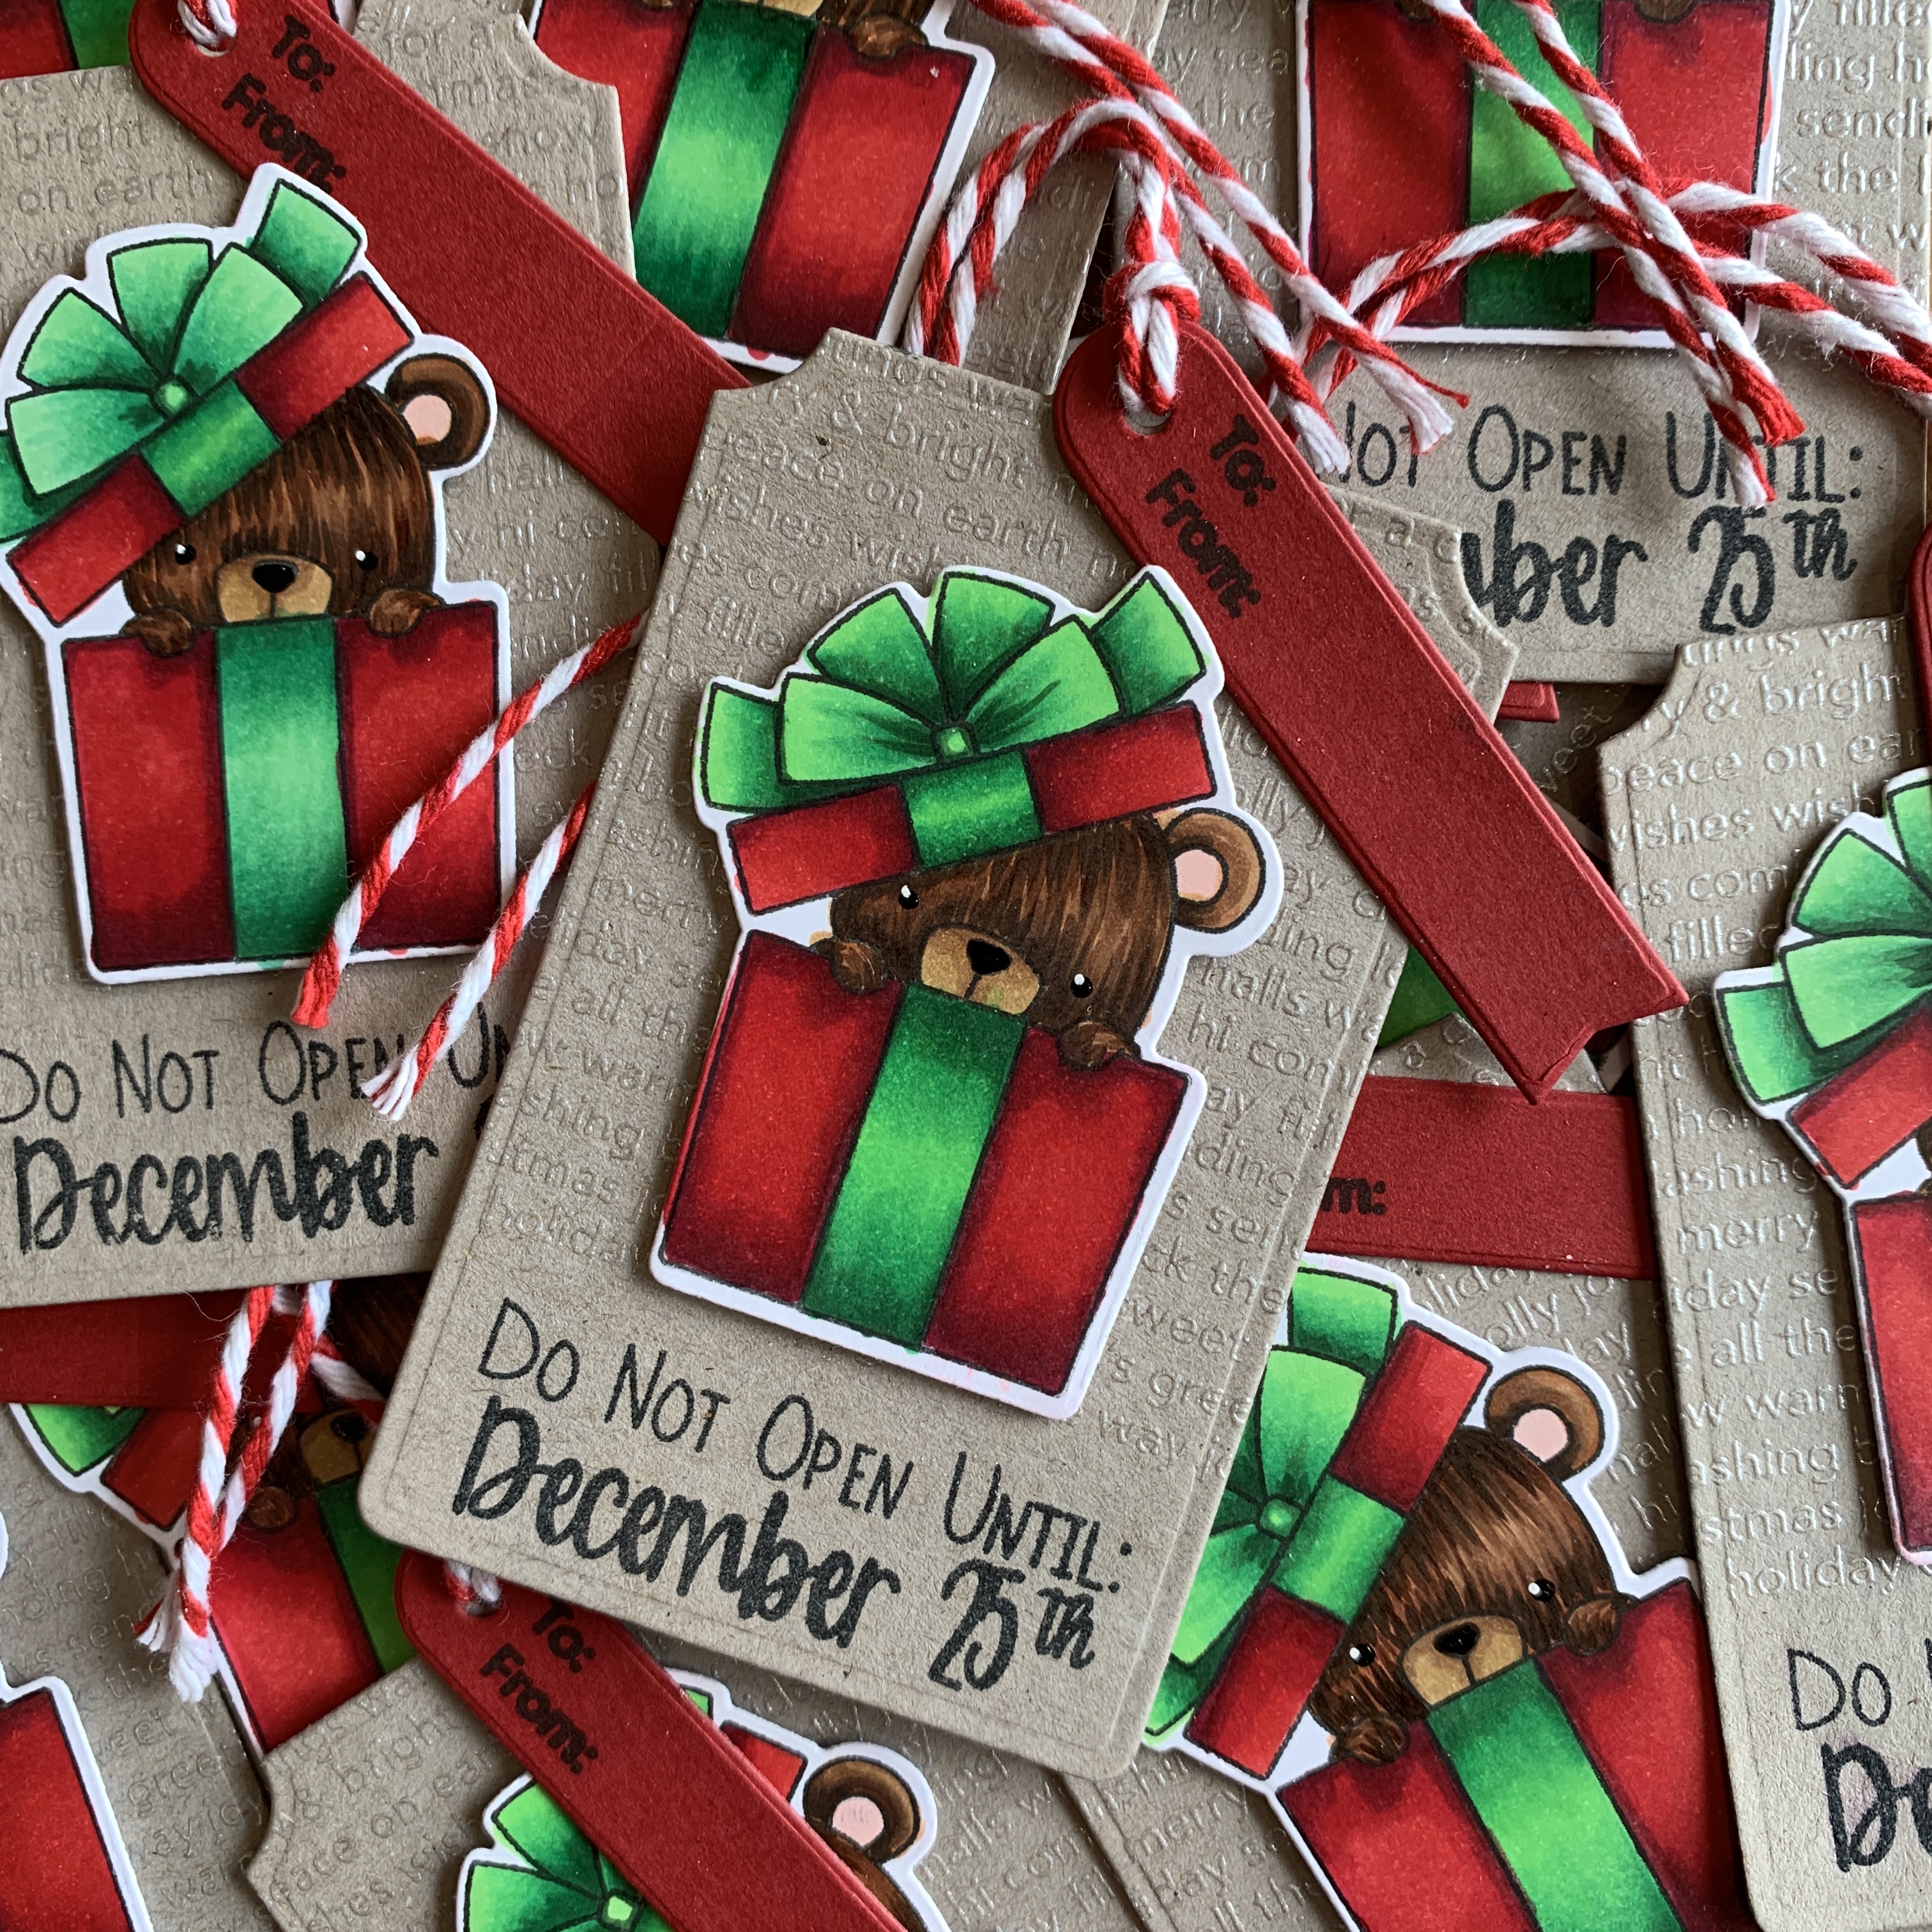
Inspiration hit finally! I decided to go with a Kraft and rich red colour scheme. I used scraps I had in my craft room from my local stationery store, but Gina K or Lawn Fawn cardstocks would be comparable and I have linked to those at the end of this post.

I chose the MFT Treat Tag because the hedgehog is quite a large image. I wanted to frame him somehow, and decided on the delicate frame in the Concord & 9th Just Because die set.

To get the gold heat embossed background in the right place, I created a mask tag out of scrap cardstock by cutting the frame out where I wanted it placed. I used my little MISTI to stamp and heat emboss the MFT background stamp, Christmas Words.

I completed colouring the hedgehog images – copics used are:

  • Red: R59, R29, R27, R24
  • Green: G28, G09, G05, G14
  • Grey: W9, W7, W5, W3, W0
  • Skin: E21, E00, E000

To feature him in the frame, I carefully fussy cut out the stocking up to his fist, and trimmed the bottom of the stamped image off. It now sits flush directly on the bottom of the red frame.

Before adhering the framed hedgehog to the tag, I added fluff to the hat with Tsukeniko Radiant Neon Amplify in White – a very effective puffy paint! This stuff puffs up tremendously when heated with the heat gun and STAYS white, giving a lot of dimension.

I glued the frame to the tag, where it fits over the gold heat embossing perfectly

For the finishing ribbon, I added a wide red ribbon found at my local emporium store. It has No Peeking printed on it, and I thought the tone suited the cute image. I used gold ornament cord to secure the wide ribbon, and tied it in a bow.

Finally, the To and From is stamped at the bottom in black, and this stamp is from the Scrapbook.com Gifting and Tag Sentiments – there are three other To & From stamps to use on other gift tags too, plus some other fun sentiments designed for gift tags.

This completes my little gift tag today. Thank you for stopping by! Below are links to the products I have used – some are affiliate links (not all) which simply means I may get a small commission at no extra cost to you when shopping. Thank you for your support – it means I can keep creating and sharing with you.

https://linkdeli.com/widget.js?id=f5e8378456858c916708

You can find more of my Christmas Gift Tags from over the years by checking out #inkyandstampytags on Instagram, or my dedicated Pinterest board

For more in-depth information about the best value supplies for your craft table, from cardstock to the handiest tools, check out my Best of the Basics series.

Posted on 1 Comment

A Beary Christmas Tag

You can find more of my Gift Tags from over the years by checking out #inkyandstampytags

Each year I like to make Christmas Gift Tags as gifts for teachers and other support people important to our family.

I actually stamped and die cut these bears last year, intending to create a tag for my 2019 collection – but creator’s block got in the way! So I sat and stared at them for months. I had coloured just the bears thinking inspiration would come, but every tag idea, colour combo, sentiment match, just didn’t do it for me. So they sat in the box and I told myself this was OK. Didn’t make it any less stressful :/

It’s interesting what a difference a year makes in terms of crafting skill and ideas! I was disappointed with my bear colouring efforts from the year before and had a go at re-colouring them. As a result, I have ended up with darker bears than I’d usually like, so I paired them with deep rich red and emerald green tones for the gift box. The following photos show you which Copic markers I used.

The tag itself was masked off with a strip of post-it tape along the bottom, and I heat embossed the MFT Christmas words background stamp in White Satin Pearl embossing powder.

I stamped the sentiment along the bottom of the tag, and popped the bear on top with foam tape.

I added Glaze details to the eyes and nose of the bear to finish them off.

I added a further mini tag from the MFT Tag Builder 5 with a To & From and tied the two tags together with red and white thick Baker’s twine.

Such a simple tag after a full year of agonising!

This completes my cute gift tag for today. Thank you for stopping by! Below are links to the products I have used – some are affiliate links (not all) which simply means I may get a small commission at no extra cost to you when shopping. Thank you for your support – it means I can keep creating and sharing with you.

This completes my little gift tag today. Thank you for stopping by! Below are links to the products I have used – some are affiliate links (not all) which simply means I may get a small commission at no extra cost to you when shopping. Thank you for your support – it means I can keep creating and sharing with you.

https://linkdeli.com/widget.js?id=f5e8378456858c916708

You can find more of my Gift Tags from over the years by checking out #inkyandstampytags

For more in-depth information about the best value supplies for your craft table, from cardstock to the handiest tools, check out my Best of the Basics series.

Follow me on my social media channels:

Posted on Leave a comment

Oh So Many Birthday Wishes!

20 to be exact! My daughter Stella is leaving her teenage years behind….

She has always been a fan of pandas, so a bit of artistic fun was had altering Bill the Bear from Honey Bee Stamps. I will show you below how I altered the stamp and coloured him up.

Before we start, I will point out that the background pieces I have used are from a previous alcohol ink lifting session – here is a link to Jennifer McGuire‘s blog (and video with lots of examples) showing this fun and incredibly easy technique.

I used the Lifted Ink panel on the bottom for the Panda card, and the top panel is on a bonus card featured at the end of this blog post.

I clear heat embossed the Simon Says Stamp Leaves & Berries stamp on my alcohol inked panel, spritzed with isopropyl alcohol (available from pharmacies). I then laid a piece of white cardstock on top and ran them through my die cutting machine (no dies were involved in this) – the ink transferred from the Yupo paper (top) to the cardstock (bottom).

This left me with two gorgeous inky backgrounds to turn into cards.

Of course, you can ink up any background panel you like, with any colours. Or even use patterned paper if preferred. The beauty of a black and white bear, is he matches any colour choice!

I stamped Bill the Bear on his own and marked out with pencil where I wanted to add the black markings to turn him into a cute panda bear.

Using my Copic markers, I used gentle flicks to add colour both from the bottom and from the top of the midsection. I started with C9, then added flicks of C7 and C5 to meet in the middle. This gives a bit of texture to his fur.

I then went back and started with 100 (Copic Black) and did a second layer of flicks, then C9, C7 and C5 again to add extra depth. The same was done on his legs and arms. I coloured his ears and eye patches with black and C9 markers.

Later in the project, I felt the line on the midsection of his tum was a little harsh, so I added further flicks of C9, C7 and C5 going downwards to soften it up a little.

I played with placement for my panda, and decided a frame with a nice large sentiment would work for this card.

I chose the frame (die cut and stacked three times) from Mama Elephant Snail Mail, and the gorgeous Oh So Many Birthday Wishes stamp from Picket Fence Studios.

Look at that smooth gold!

I heat embossed the sentiment not once, not twice, but THREE times (use your stamp platform or Misti for this). It is a complete sentiment stamp at a brilliant size to be a focal point on any project.

Embossing three layers of powder helps the sentiment stand out a little more from the colourful background. I love taking any opportunity to emboss multiple layers for impact and get that raised, but smooth look.

At this stage, I felt the panda needed a couple of accessories to make him look like he was actually enjoying the festivities. Bill the Bear stamp set does include a number of fun accessory stamps and they are aimed at the outdoorsy type with images such as log fires, honey collecting, fishing and even toasting sausages and marshmallows. There are even a couple of cute vest options and a bow tie to dress him up! As cute as those are, they didn’t fit the theme of my card today, so I did have to look through my stash for appropriate sized party type accessories.

The balloon string is tucked into the slit of his paw.

I added a balloon and a gift from the Ellen Hutson Bear Ware stamp set, and coloured them in bright red. I used R59, R29, R27 and R24. The bear die cuts little slits on the bottom of the paws, so it was easy to attach some crochet thread under his paw for him to hold his party balloon.

The gift is slotted in under his other paw. They are a perfect size to match Bill the Bear.

Final details are added, Nuvo Midas Touch gold glitter pen to the balloon and gift, glaze pens on the eyes and nose – I love the extra shine and sparkle this adds.

Double sided tape comes in a variety of widths from 0.25″ up to 6″ wide!

I use Art Glitter Glue for just about every thing when I craft, but I do like to use wide double sided tape when attaching my card fronts to foam and card bases. Sometimes inky panels have a bit of a kink in them, making them difficult to smooth out with just glue.

I put my tape as close to the edge and corners as I can, and this ensures an even adhesion with no bubbles along the edges of the panel.

Bonus Card

With the other inky panel, I decided to create this quick and easy card. I simply trimmed the panel down and adhered it to a card base with foam in between.

I cut the Mama Elephant ‘happy’ nine times – stacked three each and arranged them on the front with a tiny birthday sentiment heat embossed in white and added a few gems for sparkle.

This completes my festive party cards today. Thank you for stopping by! Below are links to the products I have used – some are affiliate links (not all) which simply means I may get a small commission at no extra cost to you when shopping. Thank you for your support – it means I can keep creating and sharing with you.

https://linkdeli.com/widget.js?id=f5e8378456858c916708

If you have any questions regarding the putting together of these cards, please feel free to message me – I’m only too happy to help!


Follow me on my social media channels:

Posted on Leave a comment

Just BEE Cause

A nice bright cheery card to send to someone, Just Because. It’s always nice to receive a surprise in the mailbox, especially when it isn’t expected!

Today’s card has a small colour palette – I have used just two colour families, Cool Greys and Yellows on top of a ‘white on white’ background.

If you are considering jumping into using Copic Markers, these two colour families would be a great start. Of course, you can use any colouring medium you are comfortable with to achieve a similar result.

I started off with the Honey Bee Stamps Hexagon cover plates – I used just the top two today (the very bottom layer is on a future shopping list).

I cut them from 80lb white cardstock and glued the two layers together. The card front is then adhered to my base – I prefer Neenah 110lb for my card bases, but you can use whichever you prefer.

I stamped and die cut my images, plus I die cut the letters for BEE four times each and stacked them together. This alphabet die set is a brilliant size, and beautiful font, I find I reach for it a lot.

The Busy Bees set includes dies for flower stems, I simply cut these without stamping the matching image and coloured them in green (YG09).

You can use any combinations of greys and yellows you have in your stash. For this project, I used C9, C7, C5 and Black on the buzzy bees, along with Y35, Y18, Y5, Y13, Y11. The same yellow combination is used on the letters and flower centres. Plus C3, C1 and C0 to add shadow to the flower petals and wings. You could cut the top layer of the letters from yellow or patterned cardstock too, which would be a fun result.


When colouring with Copic Markers, it is important to use the right cardstock – Neenah or Copic X-Press It are my top choices and they give smooth results, making it easier to blend your colouring as the cardstock can handle the amount of ink being laid down.

I start with my darkest colour and colour from the outside in with little flicks. The next colour is added by using the same small flicks over the dark colour and extending it out and same again with the lighter shade. Do the same from the other side of the section you’re colouring. If you leave gaps between your flicks, you can achieve a more textured look (think hair or fur), but in this case I wanted a smooth blend.

Copics are a bit of an investment, and it can be daunting when you’re just starting out with your collection. When adding a new colour family to your collection, try to add in groups of 3 – a dark, medium and light shade of colour. I will link here to some online colouring resources, (including free and paid) classes and charts for your reference.

There are a number of Copic suppliers in New Zealand – Gordon Harris, Ribbon Rose, Scrapbook Central are the main retailers that I personally purchase from – all three have online shopping facilities. Check your local craft supplier or art store too.

I also have further information about Copic Markers, plus other ways of adding colour to your projects here.


A close up of the stacked letters and their shiny, sparkly glory!

I added some sparkle with the Nuvo Aqua Shimmer Gloss pen and a layer of Nuvo Crystal Glaze for shine.

Wink of Stella pens and Ranger Glossy Accents or Nuvo Morning Dew Drops would give similar results if that’s what you have. I have linked both options below.

I stamped and white heat embossed the Just and Cause to add above and below to complete the sentiment.

The letters and sentiment additions are glued directly to the card front. The bees and flowers are attached to the card front with foam squares within the hexagon gaps. I glued the flower stems to sit underneath my flower heads, cut down to size – there was plenty left to spare from the two stems I had prepared.

Final touches include glaze pens and fineliner for the eyes, smile and tops of the antennae.

PRO TIP: Wait for your sparkle pen to dry before adding black glaze – I ended up with a bit of a feathered look on one of the bees and one of the antenna. Whoops!

I also added sparkle and glaze to the flower centres.

This completes my bright and cheerful card today. Thank you for stopping by! Below are links to the products I have used – some are affiliate links (not all) which simply means I may get a small commission at no extra cost to you when shopping. Thank you for your support – it means I can keep creating and sharing with you.

https://linkdeli.com/widget.js?id=f5e8378456858c916708

If you have any questions regarding the putting together of this card, please feel free to message me – I’m only too happy to help!